
Администрирование сайтов – это одна из важнейших составляющих успешного онлайн-присутствия бизнеса. От профессионально настроенного и эффективно управляемого сайта зависит его функциональность, безопасность…
porn
Криптовалютный рынок в этом году показал всем, на что способен. После достаточно тяжелой и затяжной крипто зимы, наконец-то наступил настоящий бычий рынок, который изо дня в день красит в зеленый цвет…
BigBoss.video
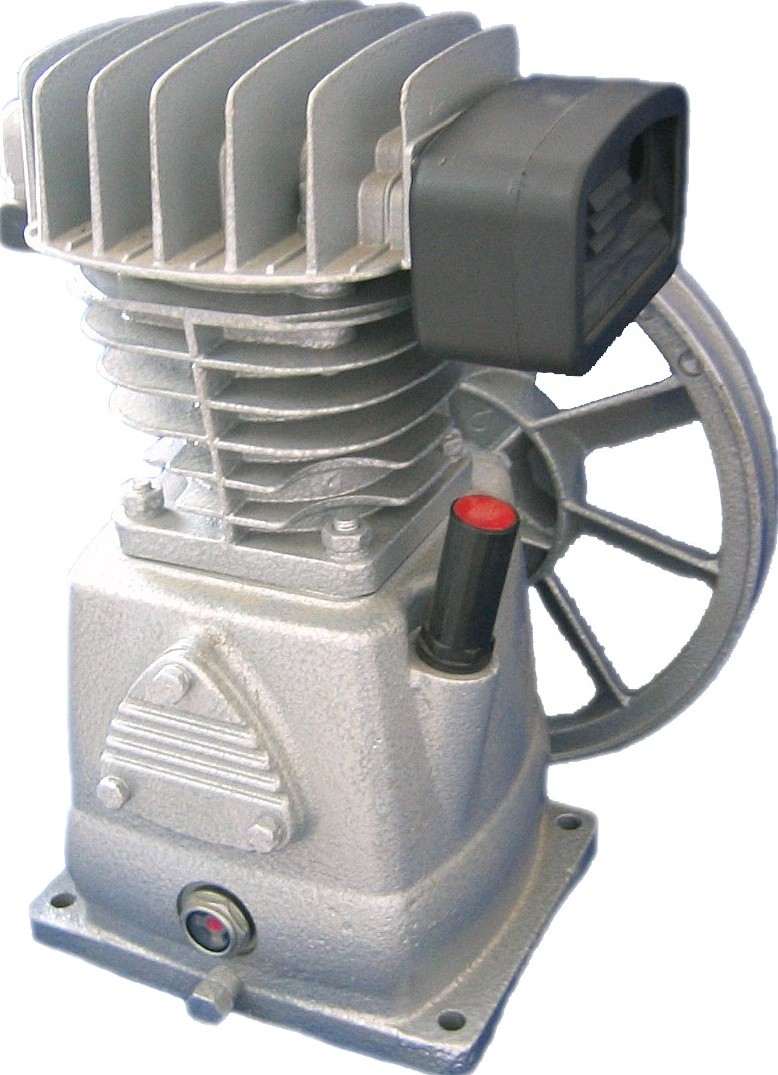
В мире автомобилестроения каждое новое технологическое достижение имеет огромное значение для успеха компаний. В этом контексте поршневой блок LH 20 , разработанный AIRCAST, становится настоящим прорывом…
www.24xxx.me/katu/
Диодный мост – это электронное устройство, состоящее из четырех диодов, соединенных таким образом, чтобы обеспечивать преобразование переменного тока (AC) в постоянный (DC). Эта схема широко используется…
Haley Reed порно
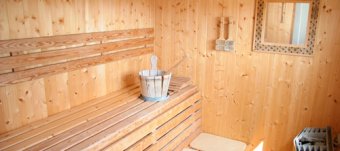
Введення Завдяки компанії Сервус, будівництво каркасих будинків за канадською технологією стає доступним та ефективним процесом. Використання Structural Insulated Panels (SIP) в будівництві відкриває нові…
видео качествами ххх
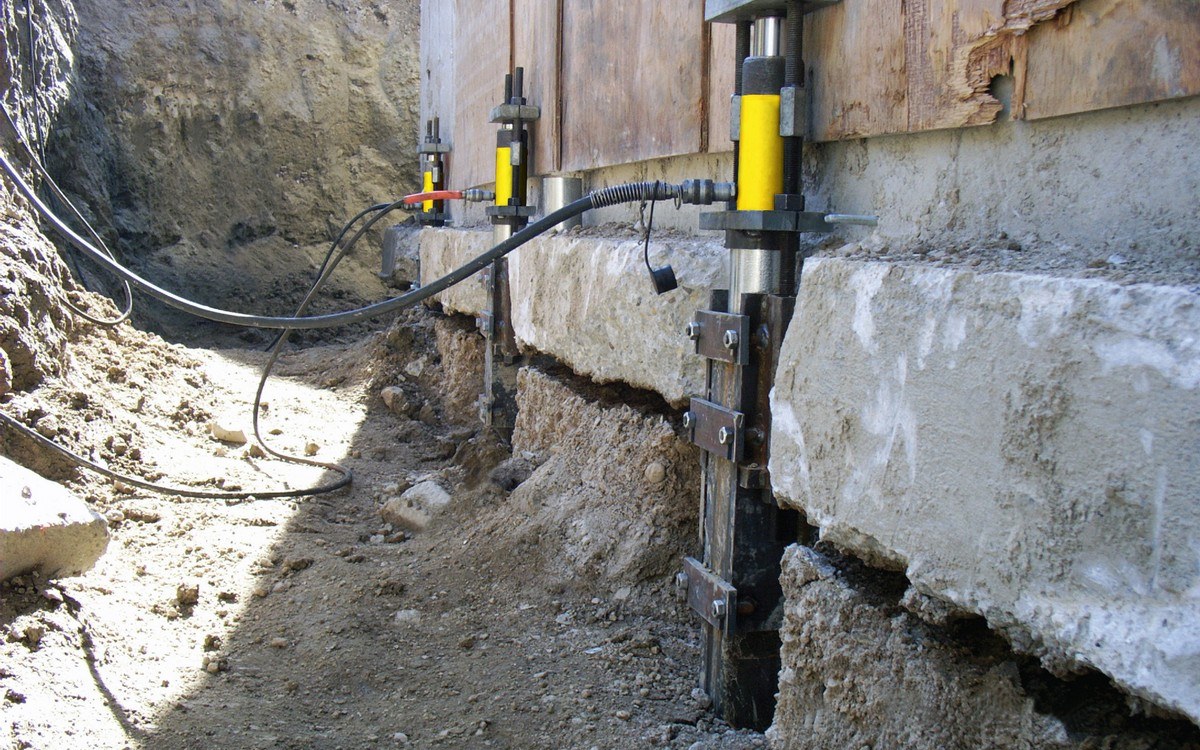
Решающую роль в прочности и долговечности дома играет его фундамент. С течением времени, из-за различных факторов, таких как геологические особенности участка, изменения влажности почвы, температурные…
ххх видео с русским переводом

Онлайн-оплата штрафов становится все более популярным и удобным способом решения неприятных ситуаций на дороге. Юристы отмечают, что это удобно для водителей, так как позволяет избежать траты времени на…
глаз бога телеграмм бесплатно

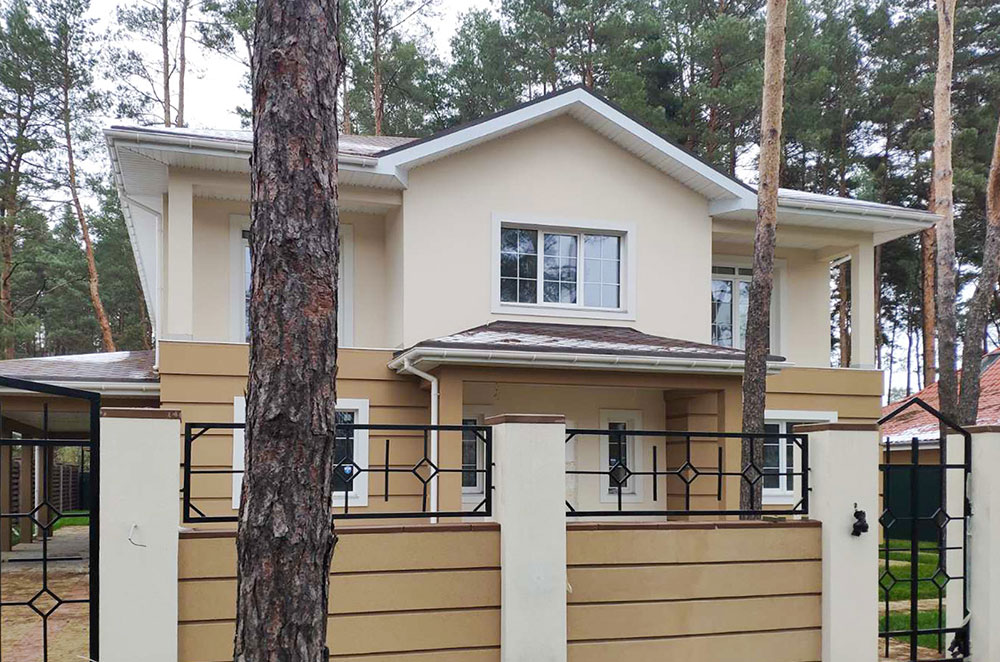
Введение В строительстве, эффективное управление бюджетом и качеством играют ключевую роль в успехе проекта. Компания NSD Group, ставшая ведущим игроком в области строительной деятельности, внедряет инновационные…
Найди тут секс поток и рулетка общение с девушками

Когда для владельца помещения устойчивость к внешним факторам и простота в уходе являются приоритетными критериями, выбор падает на синтетические покрытия для пола. Современные материалы отлично проявляют…
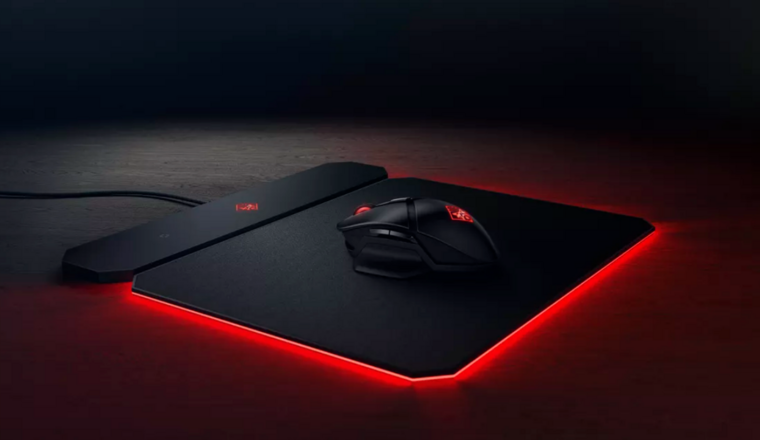
Коврик для компьютерной мышки является важным аксессуаром, который влияет на удобство и точность работы. Правильный выбор коврика может улучшить ваш опыт использования компьютера. В этой статье мы рассмотрим…

Популярність криптовалюти в останні роки стрімко зростає, привертаючи увагу як інвесторів, так і звичайних користувачів. Віртуальні гроші стали символом нової епохи цифрових технологій, їх використання…

Amazon – одна из крупнейших онлайн-платформ в мире, предоставляющая огромные возможности для продажи товаров. Однако эффективное продвижение и управление продажами на Amazon требует специализированных…

В современном мире, где индивидуальность и уникальность ценятся превыше всего, изготовление индивидуальной мебели на заказ, которая полностью соответствует вашим потребностям и стилю, становится все более…
Copyright © . All Rights Reserved